3D-print enclosure
For this part you will need access to an FDM 3D-printer. If you don’t have one, you can find an on-demand print service online. A resin printer would also do the job but we have no experience with those.
You will also need filament to print with. We use PETG because it’s a little more durable, but PLA would work too.
Download and slice the parts
The button enclosure consists of two parts. Start by downloading the STL files:
Next you need to use a slicer software such as PrusaSlicer or Cura. We recommend PrusaSlicer.
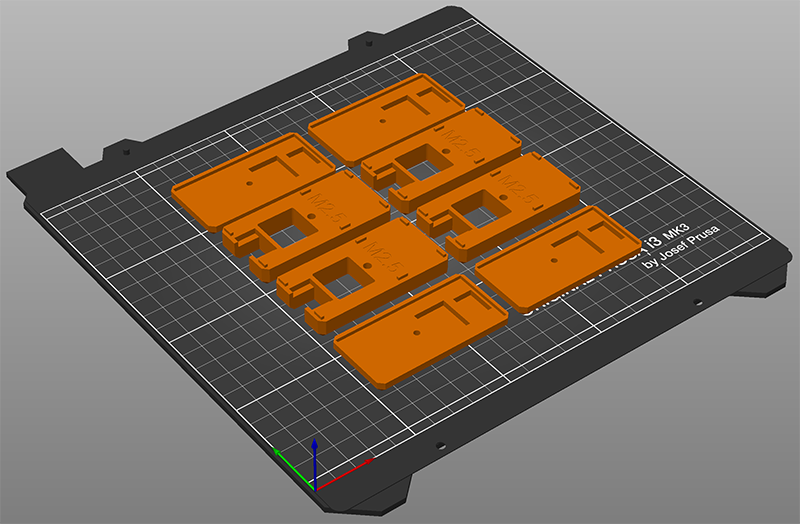
Import the STL files into the slicer. Place both parts with the flat outer part facing downwards. This helps minimize supports and gives the outer surface nice finish.
You might want to do the first test print with just single part. Once you’re confident in your print settings, feel free to pack multiple parts onto the print surface.
Here is what it might look like in the slicer:
The default print settings of your slicer might work just fine. However, there are a few settings worth tweaking.
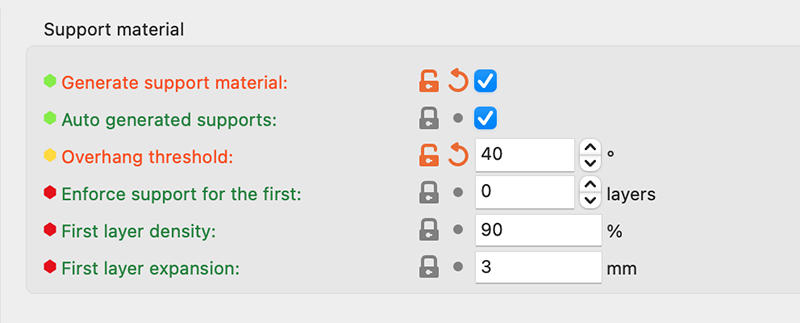
Enable supports
Supports are needed for the mounting holes only, see the picture below (supports are shown in green).
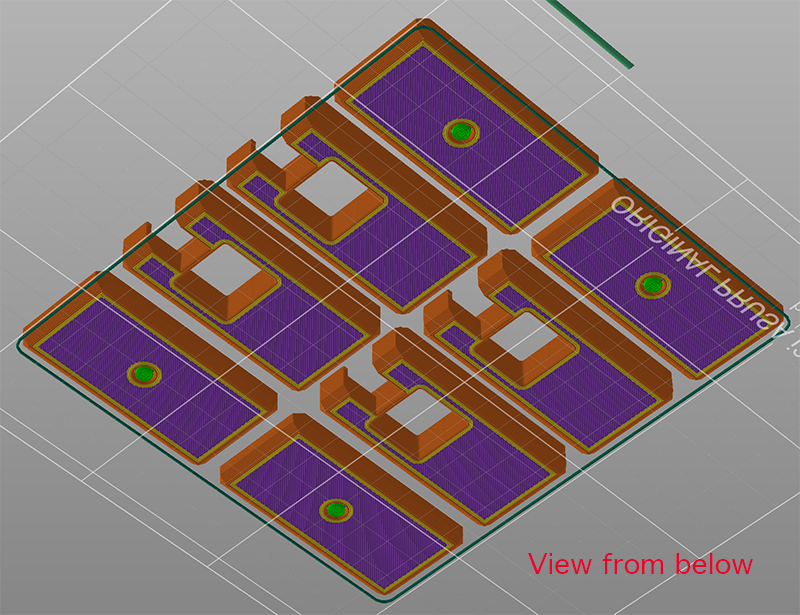
Notice that the chamfers on the edges of the parts do not need supports. To prevent the slicer from generating the unnecessary supports, you can adjust the overhang threshold to a value below 45. This is how it’s done in PrusaSlicer:
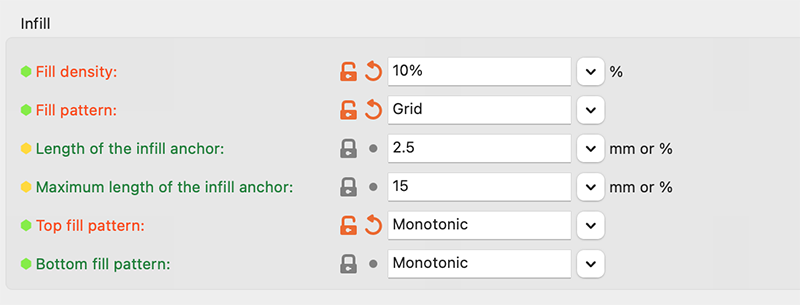
Tweak infill settings
Here are infill settings that worked well for us:
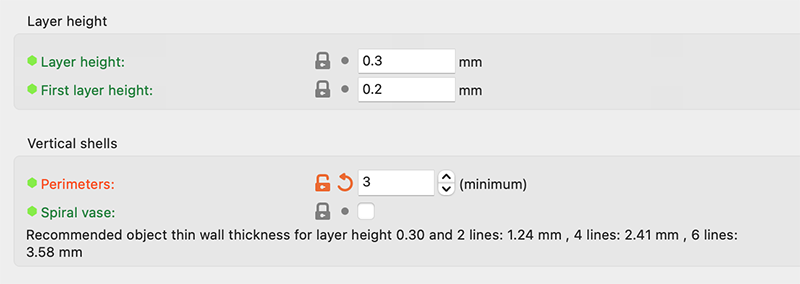
Increase the number of perimeters
It is also worth increasing the number of perimeters to 3 so that the vertical walls are a little thicker.
Before printing, double check that you’re using the correct printer profile and filament settings (especially the print temperature).
Once printing is done, you’ll need to remove the supports. They should come off easily. Poking a screwdriver through the hole from the other side usually does the trick.
Proceed to assembly.